If you are curious about making a short film on 16mm, whether it’s with a crew or not; this guide walks through exactly how I managed it, what went wrong and what I’d do differently next time.
👇 What the Vlog here
Why I wanted to Shoot 16mm Alone
For years, I’ve wanted to shoot on film. There’s a magic to it. The texture, the colours, the way the light wraps around objects. It’s all very cinematic!
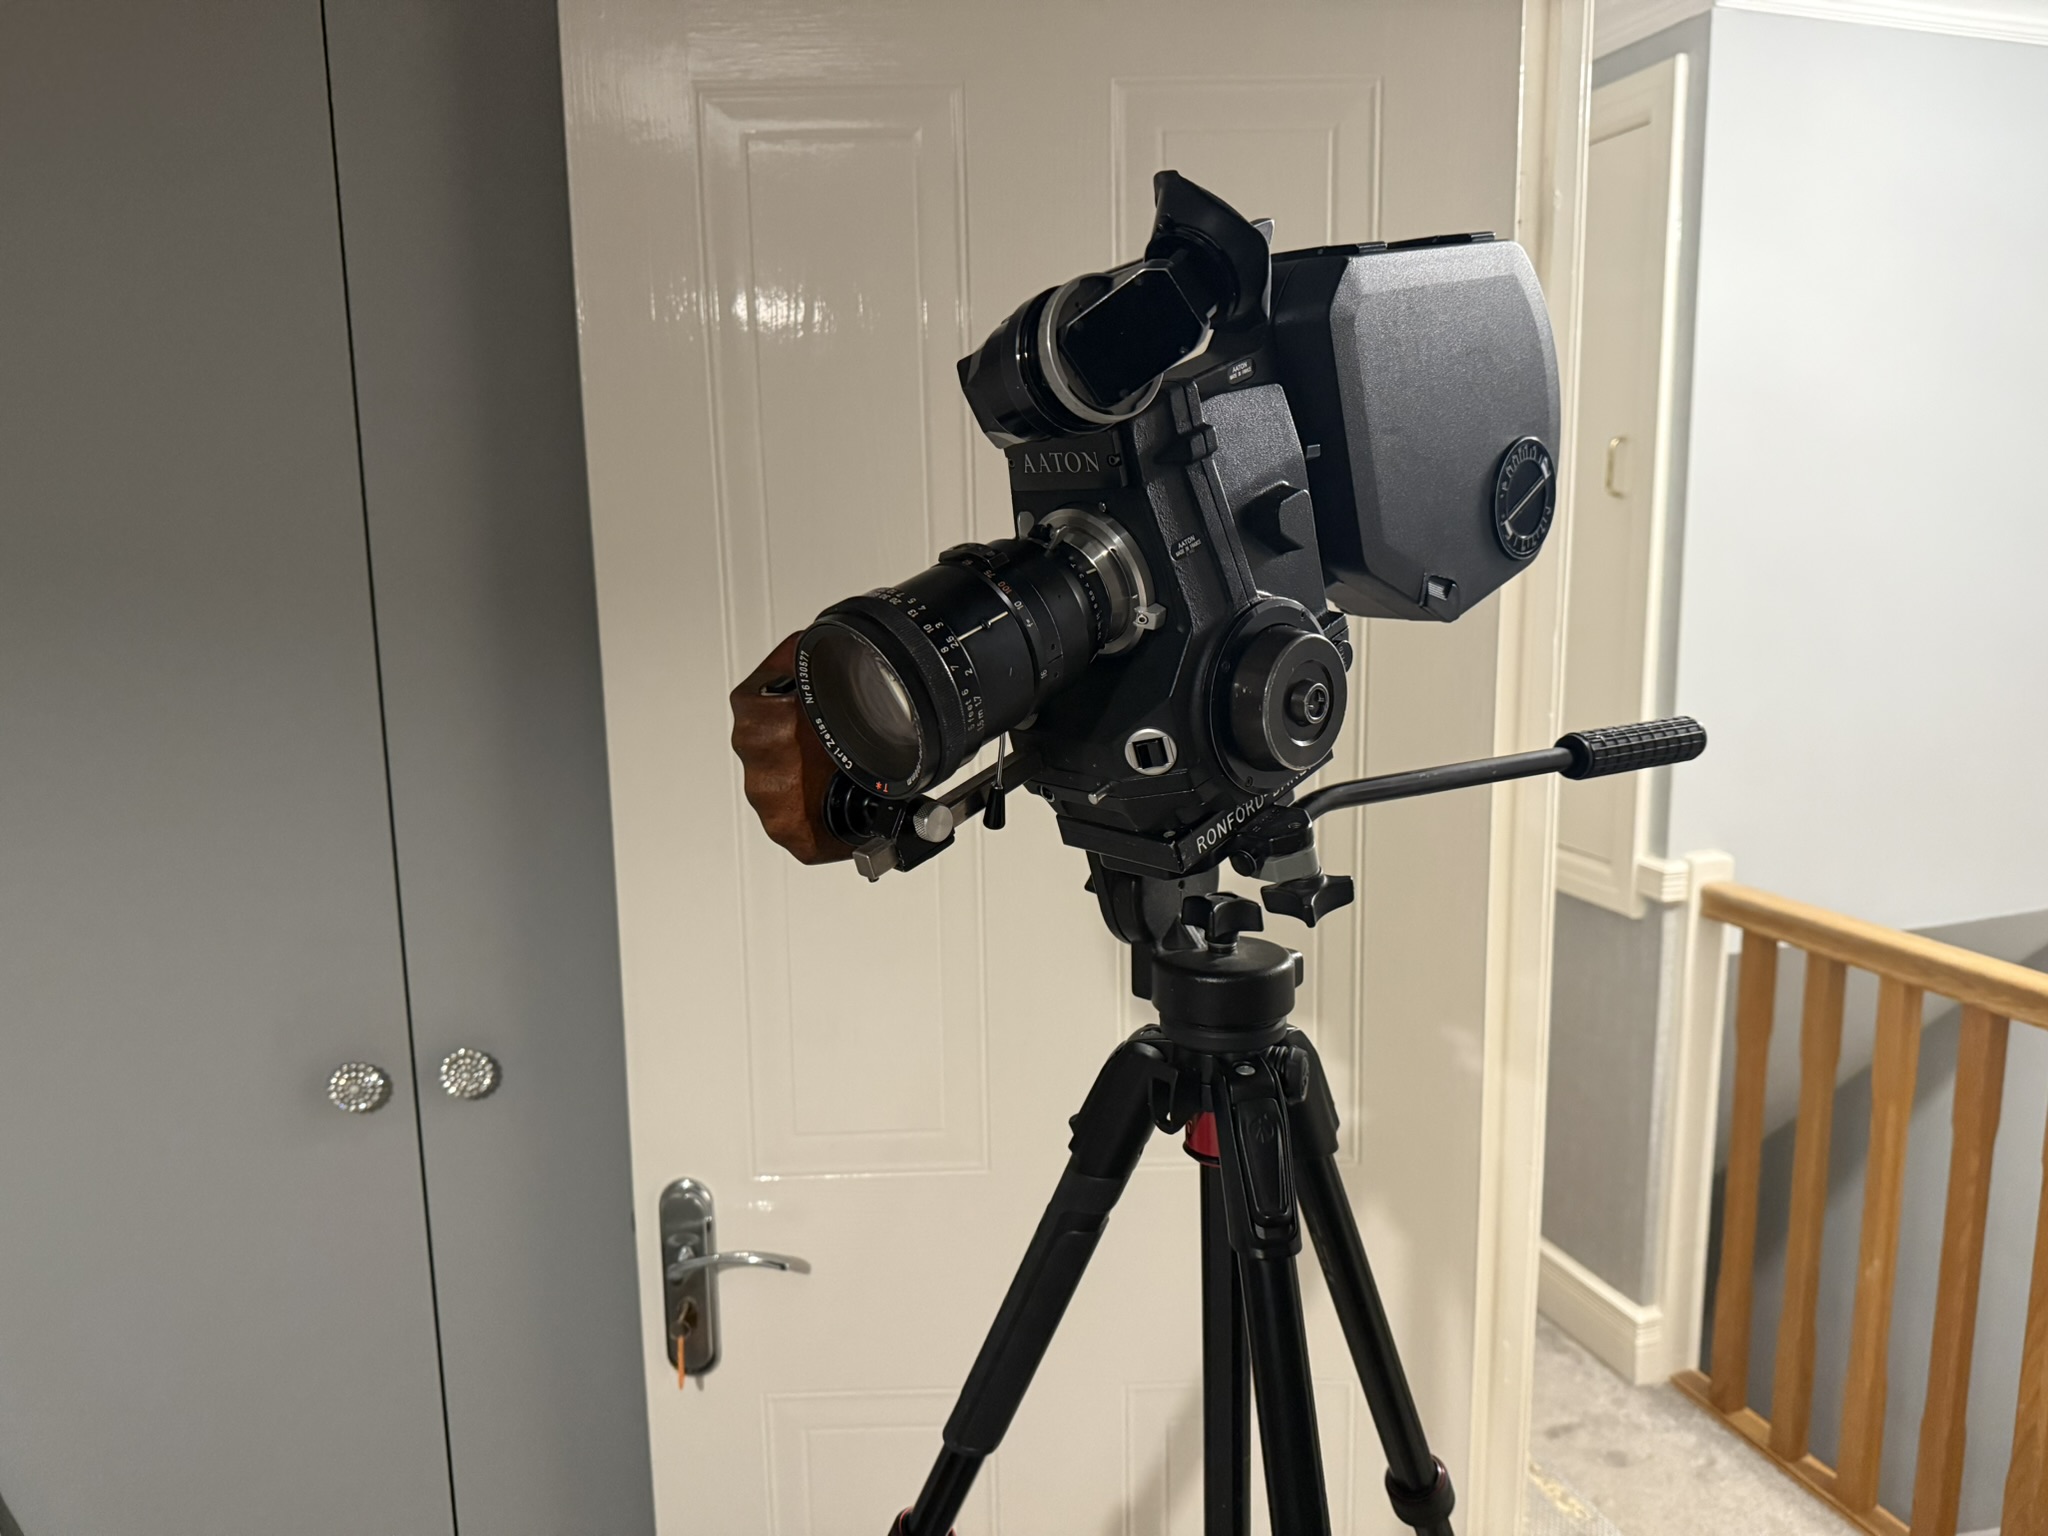
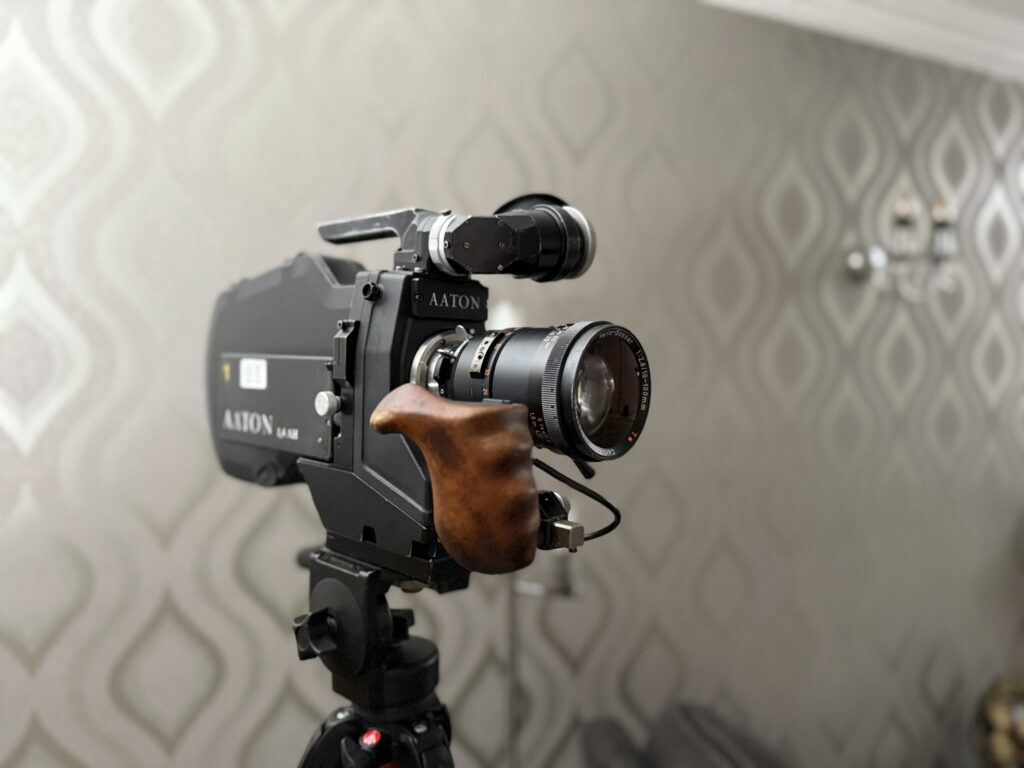
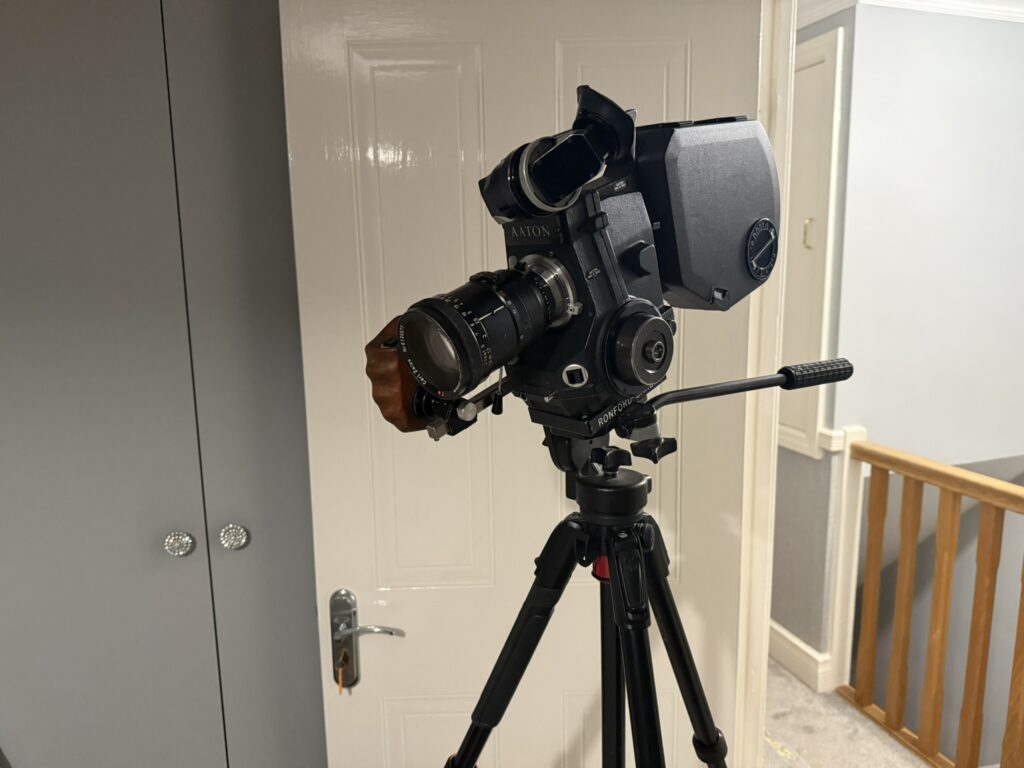
When I bought my Aaton LTR (a beautifully crafted 1970’s 16mm camera), I knew I didn’t just want to test it. I wanted to make something real.
But I also knew something else… shooting with actors when you barely understand your camera is a recipe for stress. So, I decided to challenge myself and shoot a short film entirely on my own. No crew. No assistant. Just me, a script, and a single 400-foot roll of Kodak Double-X film.
What I didn’t expect was just how much I learned. Not only about film, but about the entire filmmaking process. Those lessons will be invaluable for my next project with an actual cast and crew.
The Biggest Limitation of Shooting 16mm Solo
Shooting on film is expensive for the runtime! In fact, you could argue this is one of the biggest limitations of shooting on film in general.
Digital gives you far more recording time for far less money. Depending on quality of course. But at least you can delete a shot if you’re not happy with it to save space.
With film, time is literally money. Every time you hit record, you’re committing real film stock. There’s no delete button. Once it’s exposed, that frame exists forever. You have to get it processed into a visible image and get it scanned to view the images from it.
A 400-foot roll of 16mm gives you roughly 11 minutes of footage. That’s it.
Every take, every mistake, every half-rehearsed move… you’re burning through your budget.
This limitation shaped the entire process and it’s why planning became everything.
Here are my key points for planning and shooting on 16mm film alone or with a crew.
1. Build a Shotlist (Your Lifeline on a Solo Shoot)
A shotlist is simply a breakdown of every shot in your scene. It helps you visualise the scene and keep track of every shot you need. It can even help inspire you when it comes to working out what shots you’ll need to tell your story.
There’s no wrong way to make one, but some key information is essential. Here are the elements I consider most important:
- Shot number
- Description
- Type of shot – such as Wide, Medium or Close up for example
- Angle – Mainly to describe if it’s low, high or eye-level (I included POV as well where required)
- Camera Movement
- Lighting notes
Some additional notes I kept, which I found useful were:
- Estimated shot duration
- The estimated duration for pre and post shot operations, like slating and moving to position for action
- Location
- Scheduled Day
By included this extra information, I was able to estimate if 400ft would even be enough to capture the scene.
I built mine in Google Sheets so I could reorder shots by location, lighting set up and shooting day. Think of it like a mosaic: you shoot pieces out of order, but everything fits together in the edit.
You can see my shotlist as an exmple here.
2. Rehearse Everything Before You Roll Film
When shooting digitally, there’s more scope for trial and error. But with film as I’ve said you don’t see it until the results have been sent back from the lab. Depending on the lab, this can take anywhere from a few days to a couple of weeks.
I used Cinelab, which is a professional service provider for real blockbusters. So the turnaround is much better. They also offer a rush service, so when you hear directors talking about getting back the dailies, this is what they mean. But for lower budget productions like mine, the standard turnaround is enough.
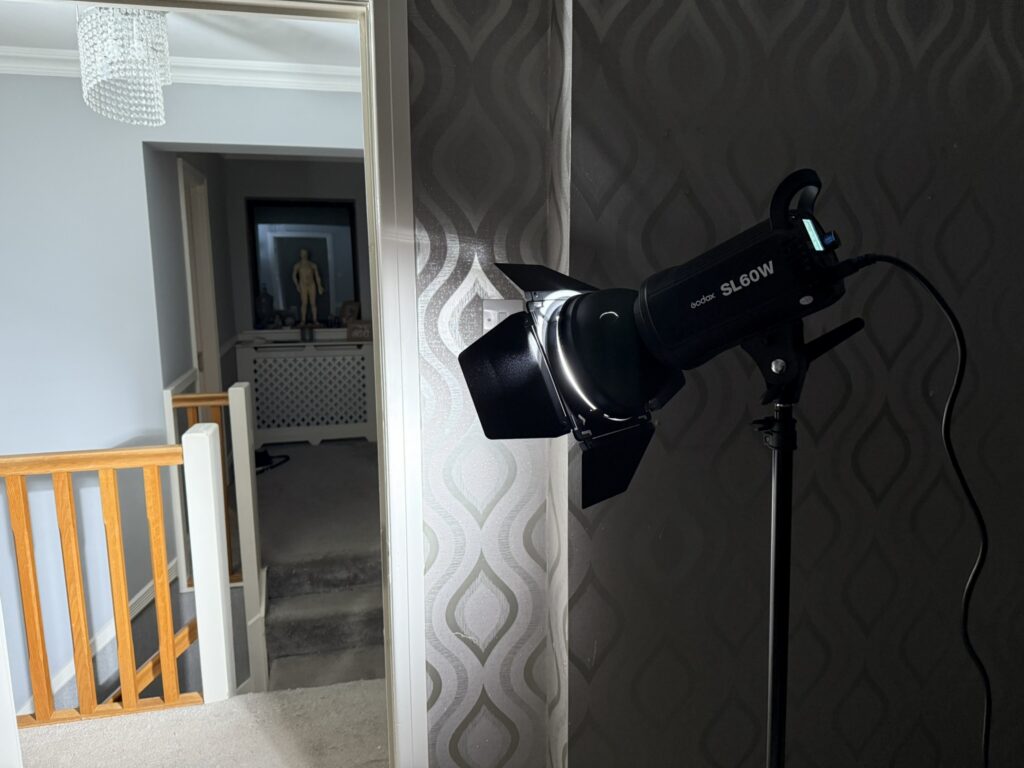
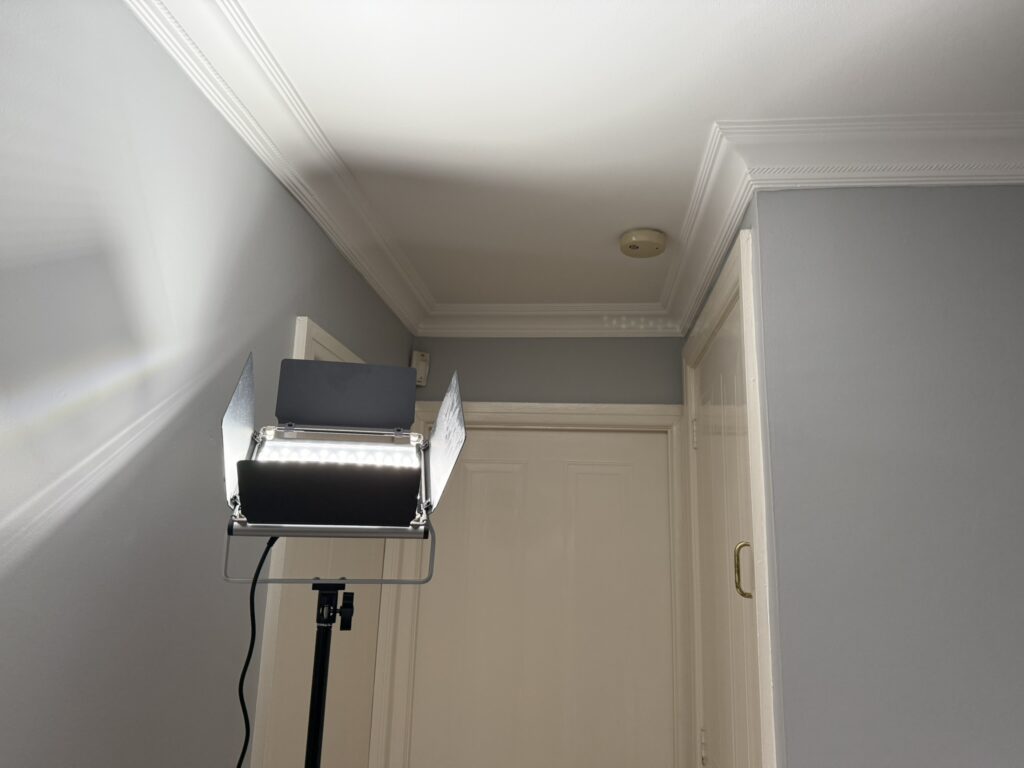
Lighting Tests Saved Me
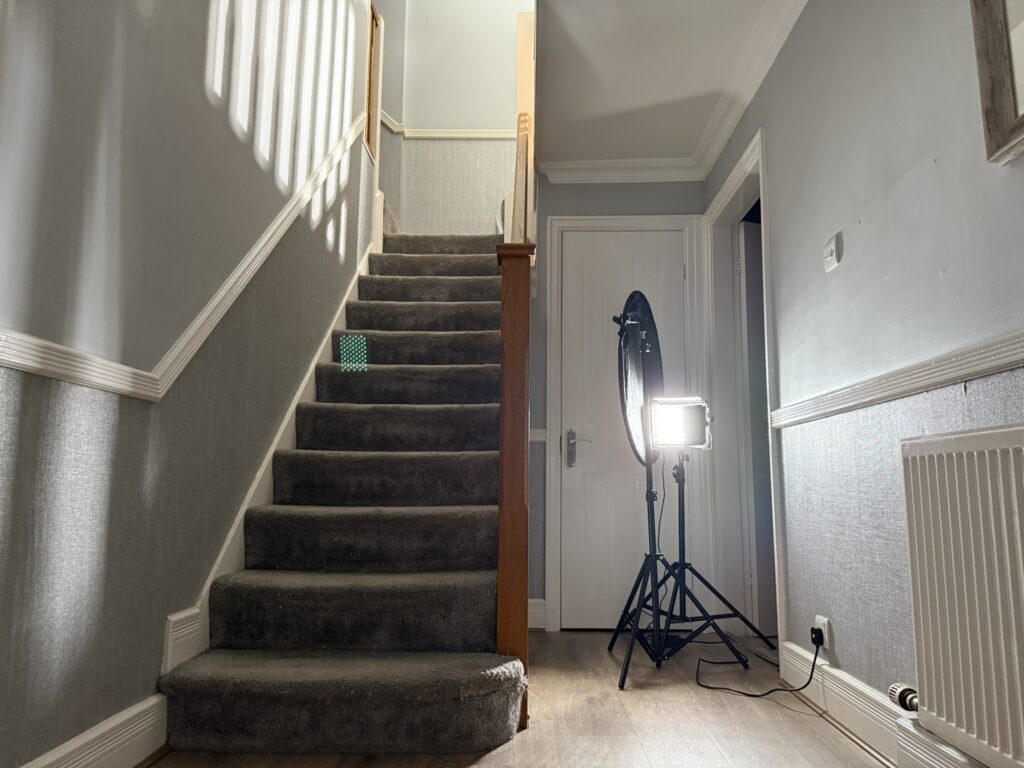
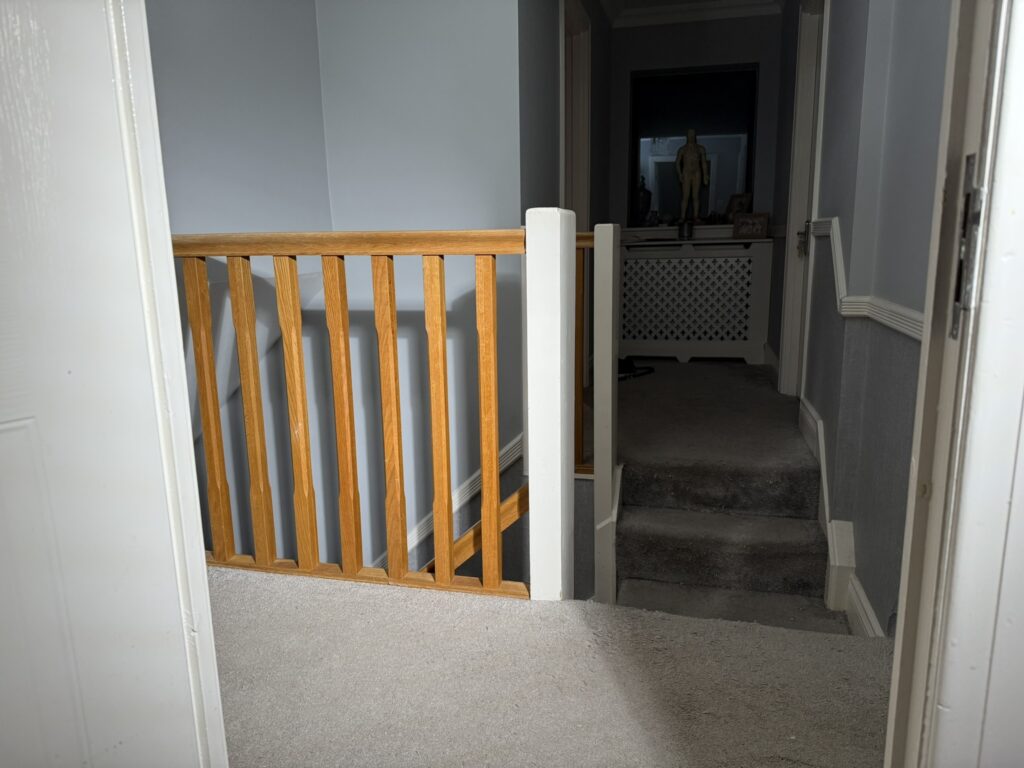
Before the day of shooting, using my shotlist I planned out an idea of all the shots I wanted to get. There were specific details I wanted, such as moonlight on the back wall or shadows through stair spindles. So, I used a Canon 2000D to test lighting setups. I matched the exposure/ISO and aperture to match the Aaton and added the results to my shotlist notes.
You can see the results of some of my lighting tests here.
Blocking and Rehearsal
On the day of the shoot. It’s even more important to block the scene out with actors or myself in this case. So, rehearsing each shot was important too.
To prevent surprises, I rehearsed:
- Movement and timing
- Turning the camera on/off
- Hitting marks
- Double checked lighting through the Canon 2000D
- The full scene flow
All this gave me confidence before rolling actual film.
3. Shooting Alone: The Tedious Reality
I don’t want to be totally negative here. Shooting alone was great. I had no one to report to, my schedule was my own and I really had time to think about each step and learn from it.
That being said, doing everything can also be very tedious.
Each night, using my shotlist. I would set up my scene in the following way:
- Set design
- Set up the lights
- Position the camera
- Focus
- Frame
- Lock off
- Set aperture
- Cover the eyepiece (built into the eyepiece on the Aaton)
- Rehearse the action
- Also rehearse with turning the camera on and off
- Finally, I got to roll the camera for about 10-20 seconds per shot
All this set up usually took most of the night, with one night in particular taking about 2 hours to set up. I did 3 shots that run about 10 seconds each and that was it. Time to dismantle because it was in the can.
This is why the work in Pre-Production is so important. You get a feel for what is required, so when you’re on set, you’re simply putting the plan in to action. DP’s will visit locations during scouting to see what the light sources are and what framing options are available, so they can plan these things out in advance.
4. The Biggest Mistake I Made AND How I Fixed It
It came literally on the first night of shooting. Everything seemed to be going well for about 3 shots and then suddenly during a long take I heard a loud ticking sound in time with the pull-down claw inside the Aaton. I knew it wasn’t good and it wasn’t.
I’d loaded the mag incorrectly and made the film loop too small. This meant that the film was slipping through the gate when the shutter was open when it should have been stationary.
Opening a 400-foot mag outside a darkroom wasn’t an option for me. What I ended up doing was just taking the mag off and adjusting the loop on either side by feel. But without actually changing the size of the loop.
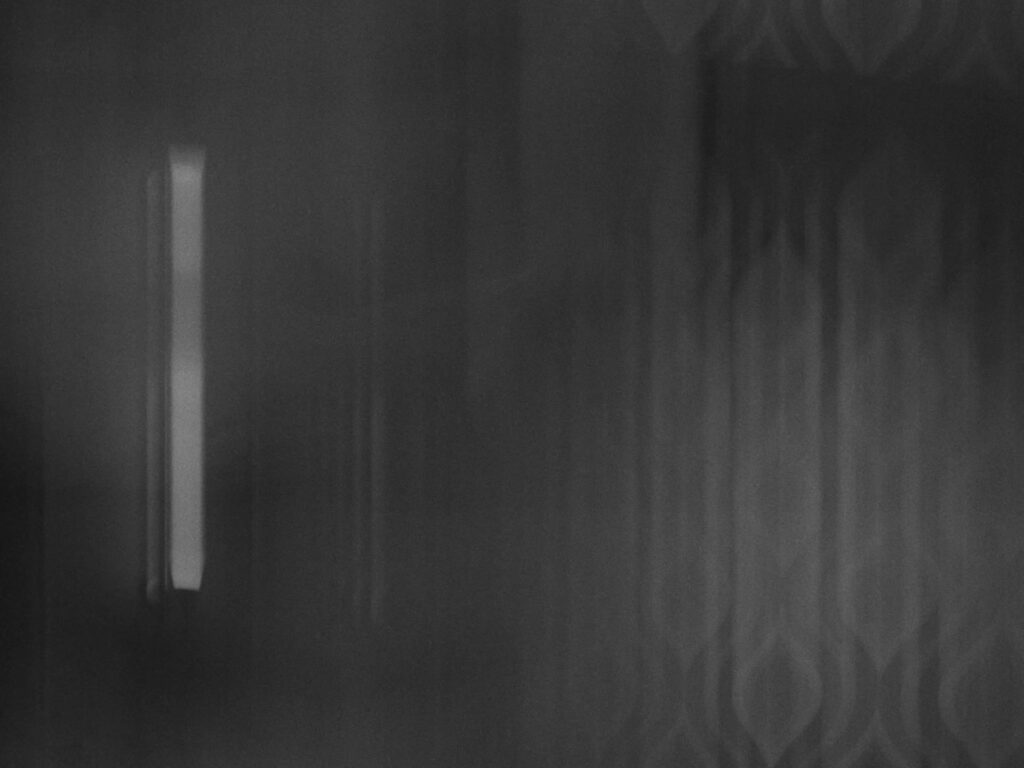
It worked… mostly. But, for the rest of the shoot, there was this intermittent issue that caused the odd streak for the rest of the film. You can see this in scenes where bright or white objects are present.
Turning the Disaster into a Story Point
When I got the film back, I was gutted. But I had a feeling it was going to be the case. I tried to fix the situation during filming by continuing where I’d left off. But I hadn’t given myself anything to edit with in Post. If I had used the clean footage, it would have caused a jarring jump cut.
I came up with the idea of using the broken footage in the film as an insert. It married the 2 shots up together and looks like it was part of the film. It’s as if there was something unusual in the house causing it. No one has questioned it, so it must have worked.
5. The Smaller Mistakes That Happen When You’re Alone
Framing Issue
In one of the shots, I concentrated so much on technicalities of the door slam that I forgot to work out where I would be in relation to the frame. Leaving me almost half off the screen during that shot.
Continuity
A few times I forgot what I was wearing on my feet. While moving lights around and prepping the set I’d switch between shoes and slippers, and on one of the shots I ended up leaving them on without realising.
Unfortunately, it was also the very last shot before the film ran out, so there were no do-overs. Thankfully, no one has mentioned it yet. The audience must have been more focused on the story
6. What Shooting 16mm Alone Taught Me
Planning is everything
Shotlists, rehearsals, and lighting tests save time, stress, and film.
Rehearse more than you think you need
Film gives you zero feedback until the scan arrives.
Use a digital camera to test lighting
It removes huge amounts of guesswork. Still, it is no substitute for learning to use a light meter properly!
Expect things to go wrong
Mistakes don’t ruin your shoot; failing to adapt does.
Shooting solo improves your cinematography
Being DP + AC + gaffer + actor teaches you the craft inside out.
Final Thoughts (and the Finished Film)
Shooting on 16mm alone was one of the most rewarding challenges I’ve taken on. It forced me to slow down, think carefully about every shot, and appreciate the filmmaking process in a way digital rarely demands. It has got me engaged and looking forward to my next project.
If you’re considering doing something similar, then go for it. You’ll learn more in one project than in months of tutorials.
👇 Here is the finished film
If you have questions about 16mm filmmaking or if you want a dedicated post about the Aaton LTR, feel free to reach out. I’ve already got another project in pre-production, and I’d love to bring you along for the ride.
You can find out more by visiting our Blog or follow our Facebook page.
No responses yet